
Who just upgraded their MacBook after 8 years?!?! This guy!!! Let's set it up for mobile development with Xamarin for iOS & Android development in C#.
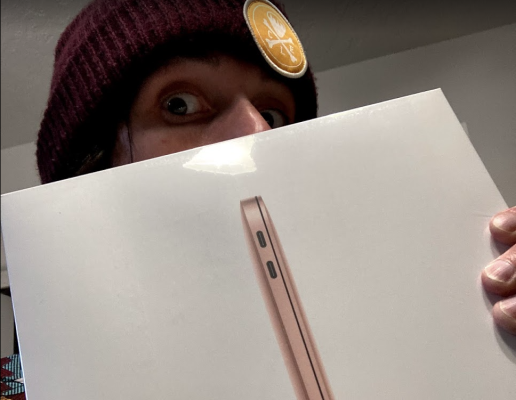
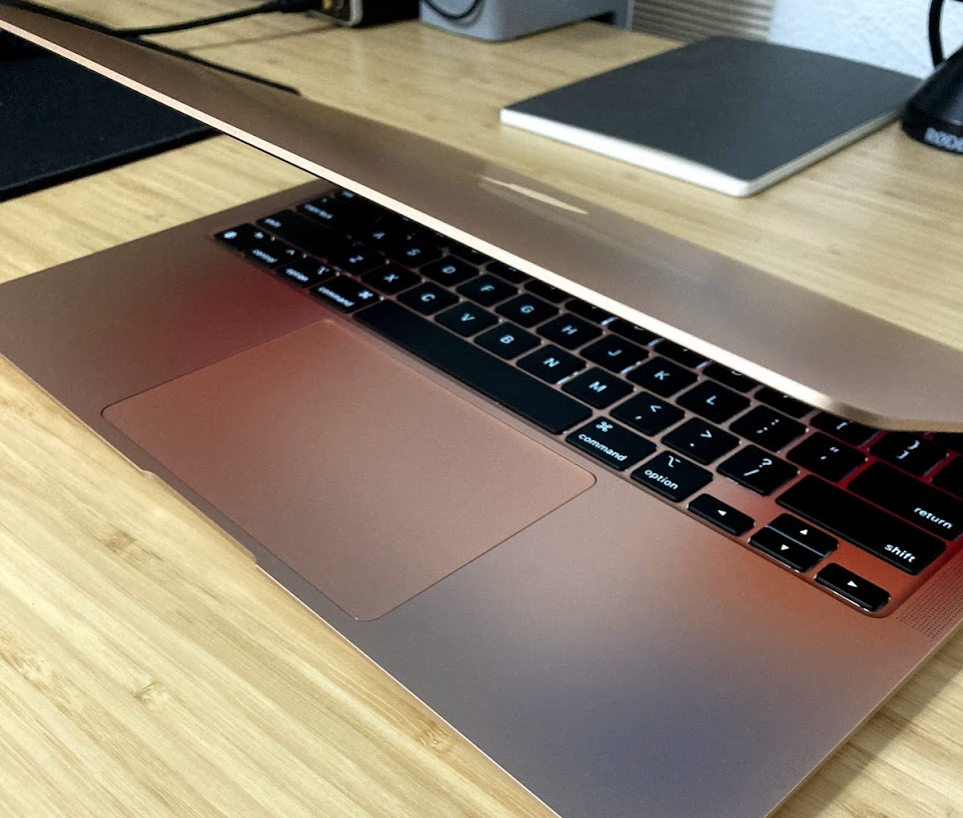
That is right, I finally decided to go all in on an M1 MacBook Air (8-Core GPU, 512GB SSD, 16GB RAM) thanks to the $500 "credit" from participating in the DTK program. Not only was it time for an upgrade since my machine was 8 years old, but also because this new generation of machines marks a pivotal transition for macOS devices moving to ARM64 with the M1 chip.
Early Adopter
Before I made this purchase I had to acknowledge to my that I would be an early adopter of a brand new technology. I knew that everything wasn't going to be perfect or even run at all. Rosetta 2 is supposed to make all apps work just magically, but if you are a developer there are a plethora of tools in the tool-chain that are required to get things working. For Xamarin you need Xcode, iOS Simulators, Xcode CLI, Android SDK, Android Emulators, Visual Studio for Mac, Mono, Xamarin.iOS & Xamarin.Android SDK, and all the things that come with it. So yeah... lots of things that need to be updated.
The release of Visual Studio for Mac 8.9 and macOS 11.2.3 introduced optimizations that made things work better while still tracking any outstanding issues on Developer Community. That said I am happy to say that with a little bit of setup things mostly just work and are pretty snappy!
So, let's get started!
Visual Studio for Mac
This is the easy part of getting setup because the installer is pretty great. Just check those checkboxes for iOS, Android, and macOS development. The installer will also install .NET Core 3.1 and .NET 5. From my findings .NET 5 works best works for development of ASP.NET and .NET console apps. Alright, you are almost done :)
Xcode & CLI
For iOS apps you will need to install Xcode and the command line dependencies. Xcode 12 can be downloaded directly from the App Store and for me took about an hour to install so go make and eat a sandwich and go on a walk.
After installing Xcode make sure you open it, accept that beautiful EULA, and then attempt to find how to install the "Command Line Tools for Xcode". This usually installs automatically, however for me, it didn't so I signed into the Apple Developer download portal and installed it manually. If you fail to install this then Visual Studio for Mac won't be able to find any of your simulators. After that you should be good to go to properly start running and debugging iOS apps!
Android Emulator for M1
Who would have thought that Android Emulators would be a headache!?!?!! Rosetta 2 is amazing, but when it comes to the default Android Emulator it falls over because it can not run Kernel extensions and doesn't support VMs that are doing x86_64 virtualization. Do not fear though because Google has actually been working on fixing this and has a special native ARM64 build of the Android Emulator! They have been building it out on GitHub and it is now included in the Android Studio AVD manager, however it isn't available just yet in the Visual Studio for Mac AVD manager :(. A workaround for now is that you can just download and run it manually from their GitHub releases page! I downloaded Preview 3 and installed it into the Applications folder.
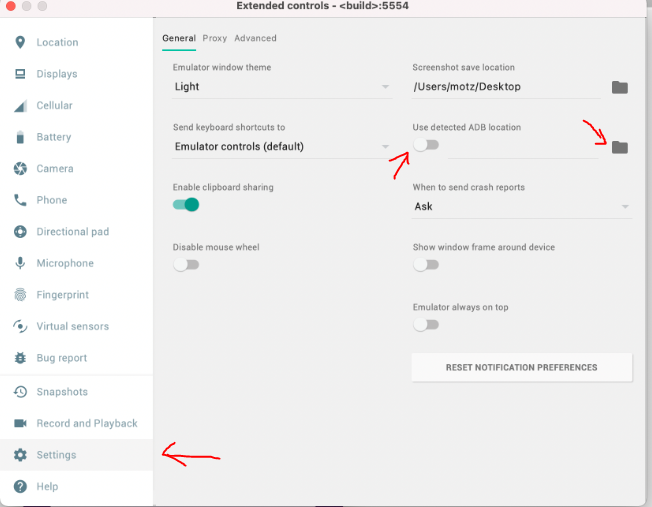
To launch the emulator you will need to hold down the control button and then double click launch it the first time.When you launch it you will get a warning that adb could not be located and must manually be assigned.
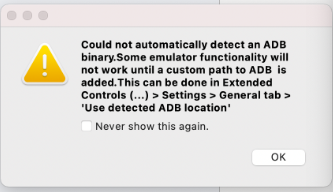
This location can be set manually in the ... of the Android Emulator under Settings. Turn off the "Use detected ADB location" and then browse for adb manually that Visual Studio for Mac uses.
You can find this in VSM -> Preferences -> SDK Locations -> Android:
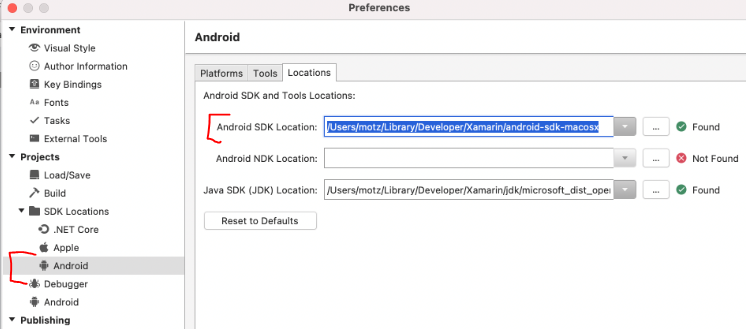
The actual path of adb will be /Users/YOUR_USER_NAME/Library/Developer/Xamarin/android-sdk-macosx/platform-tools/adb. After you locate this, you will be good to go! It will show up now when you run the emulator (I pinned it) under the <build> name :).
Pretty Fast!
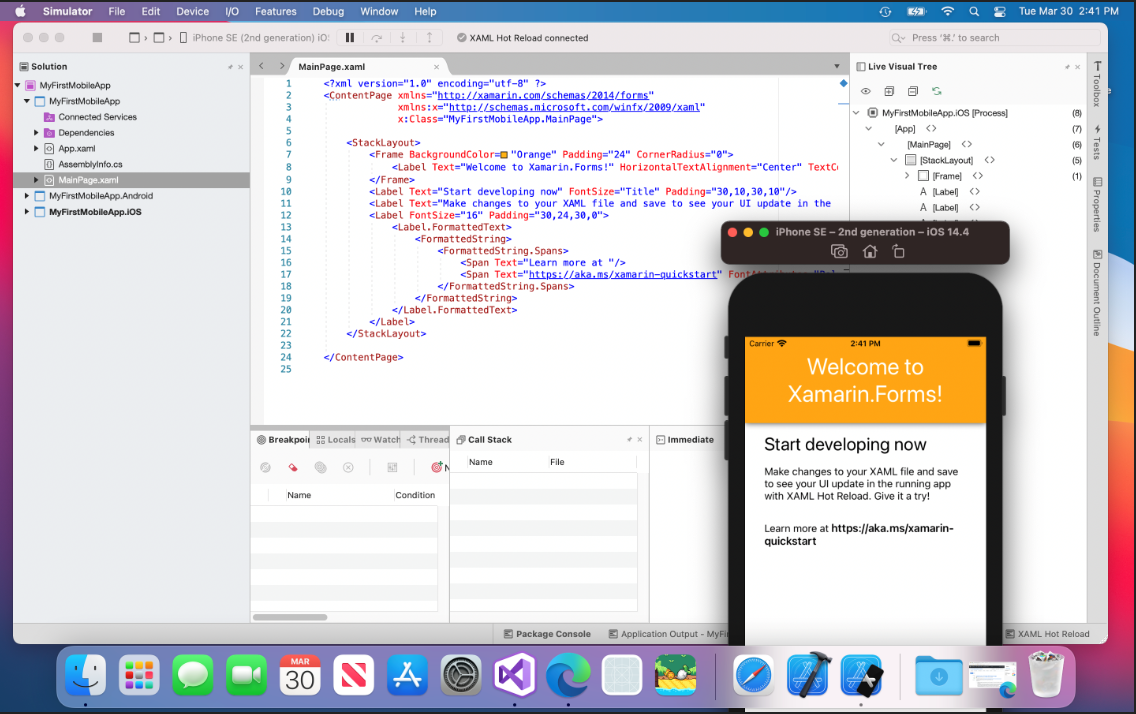
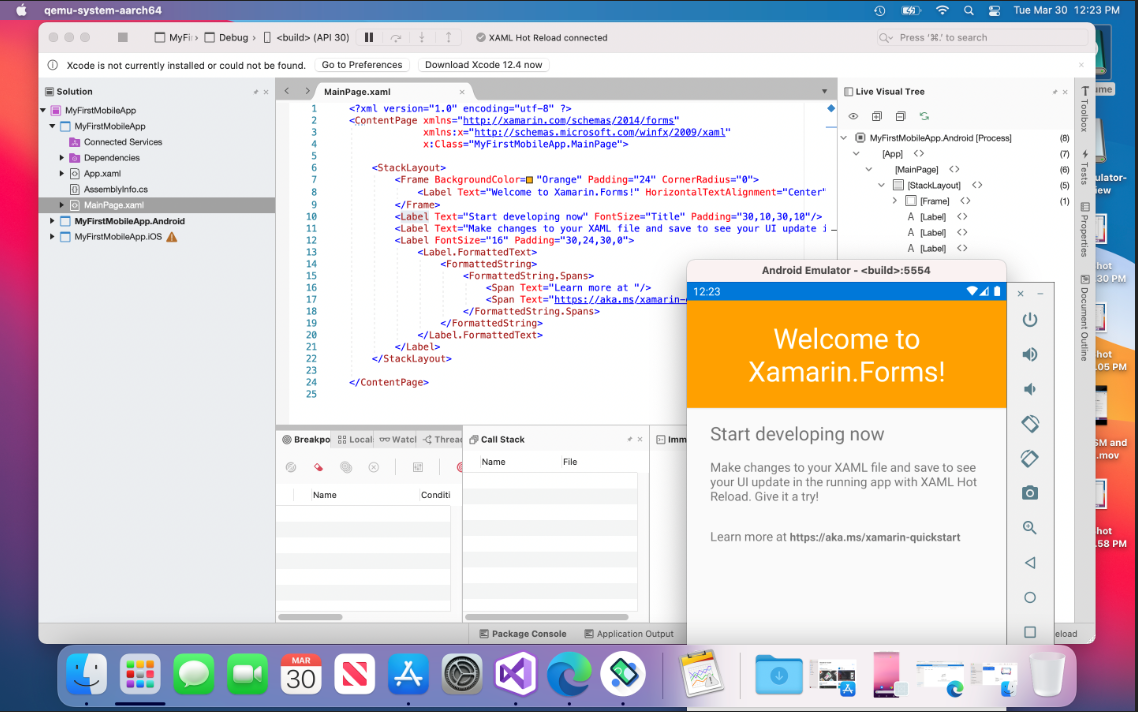
Now, most of the tools here are all going through Rosetta 2, but I have to say that overall it feel pretty fast. I picked up the MacBook Air and not the Pro and I can create a new project and get up and running on a simulator in under 1 minute, which is pretty great:
More to come!
As an early adopter I know things aren't going to be perfect, but things are looking pretty good after playing around for a few hours. I need some more time to setup my entire environment and tools to get a real feel for things. I haven't experimented with every workload yet, but most of the traditional ASP.NET Core, and Blazor Server things seem to work well from my testing so far. Blazor WebAssembly seems to have a few issues, but that feel like something that will get worked out soon. If you have an M1 and find any issues with Visual Studio for Mac please report a problem on the Developer Community.
Hopefully you found this pretty interesting if you are in the market for an M1 or have just been struggling to figure out this new landscape of ARM64 recompiled apps.