
I am by no means a cloud-native developer, I am a client developer. I have spent some time though to get a general understanding about microservices, images, containers, docker, and all the buzz words that surround the topic. I recently got really into DevContainers and using them on GitHub Codespaces and Visual Studio Code to create an environment to run apps in. From there, I went down a rabbit hole of educating myself more by taking Microsoft Learn training courses, watching the new containers for beginner series, and actually trying to build something myself.
However, this is where I always seem to get into trouble as my main work machine every day where I am doing training is a Windows ARM device. I have been using the Project Volterra device for a long time and I simply love it. The ecosystem of what I can develop and my day to day is ALMOST identical to my normal x86 machine. One area as of time of writing this that always gets me is Docker and the lack of support Docker Desktop on Windows ARM (although it is coming in the future). DevContainers... needs Docker.... container development...needs Docker.... and there we have the issue.... or do we...
Enter WSL
Yes, the Window Subsystem for Linux to the rescue! We are creating Linux containers anyways so might as well run them in WSL! Just like the Windows Subsystem for Android enables me to develop Android apps easily, WSL does the same for container and dev containers. DevContainers was a simple solution, simply install Docker inside of Ubuntu on WSL and BOOM you are good to go. So elegant, so simple.
However, creating a container image with the dotnet publish -t:PublishContainer command is not so easy. In an ideal world I would just run this on my Windows machine for my .NET app, it would create the image, and then I could view it in Docker Desktop. Well.... no docker desktop. So, I could use WSL to run the command INSIDE of Ubuntu and then use Docker inside of WSL to run it! WHOA! That would work... if there was a distribution of Ubuntu out of the box that supported installing .NET 8 SDK for Ubuntu ARM easily. You technically need Ubuntu 23.10 to do this, and easy install of Ubuntu is only at 22.04. Now YES you can totally install any distro of Linux into WSL... but I like the "easy" button. Additionally, since I still don't have any Docker Desktop in this scenario, I would still have to use the Docker command line for management.
Enter Podman & Podman Desktop
But what if I told you don't need to have Docker to run images and containers. They are standard and other things can run them do such as Podman which is available on Windows, works by using WSL under the hood, and works on ARM devices!!!Oh, it also is super easy to install with just a normal installer!
After you have it installed, all you need to do is run podman machine init and start it up with podman machine start.
Now, since I love GUIs, it is time to install Podman Desktop that will easily help you boot podman, view images, create and run containers, and pretty much anything else you would want to do. It will also walk you through the complete set-up and installation process as well if you haven't done that yet or need to make changes in the future.

Let's create a .NET container!
Now, the fun part here is that I can use all my normal Windows tools including the .NET CLI, VS Code, or Visual Studio to create my images with the .NET SDK and run them in podman. Podman just sits in the background and handles the logistics. I don't have to worry about signing into WSL or anything.
Now, we can create a new .NET web app with dotnet new web -o HelloPodman.
Then it is time to publish it with dotnet publish -t:PublishContainer.
This should give you some output like this:
HelloPodman -> C:\Users\jamont\Desktop\HelloPodman\bin\Release\net8.0\HelloPodman.dll
HelloPodman -> C:\Users\jamont\Desktop\HelloPodman\bin\Release\net8.0\publish\
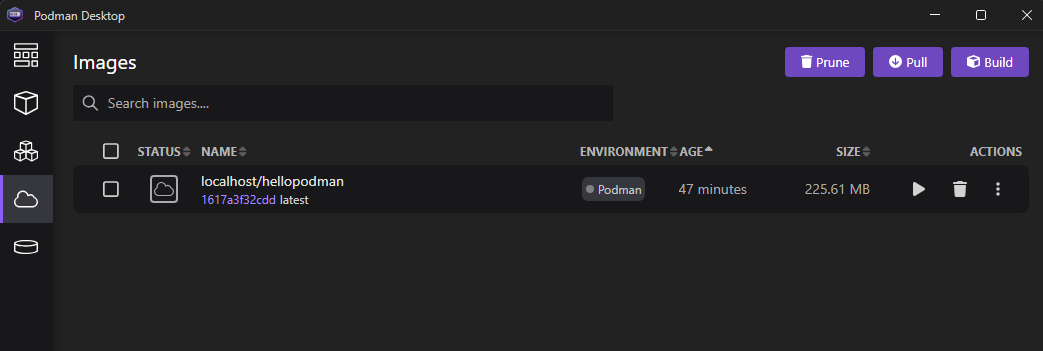
Building image 'hellopodman' with tags 'latest' on top of base image 'mcr.microsoft.com/dotnet/runtime:8.0'.
Pushed image 'hellopodman:latest' to local registry via 'podman'.Now, let's run it! I could run it manually with podman commands in my normal Windows Terminal with any shell including normal cmd. Or I could open up Podman Desktop and create a new container from the image.
When you hit the play icon it will take you to the configuration screen where it will be pre-configured with the dotnet entry point and 8080 for port:
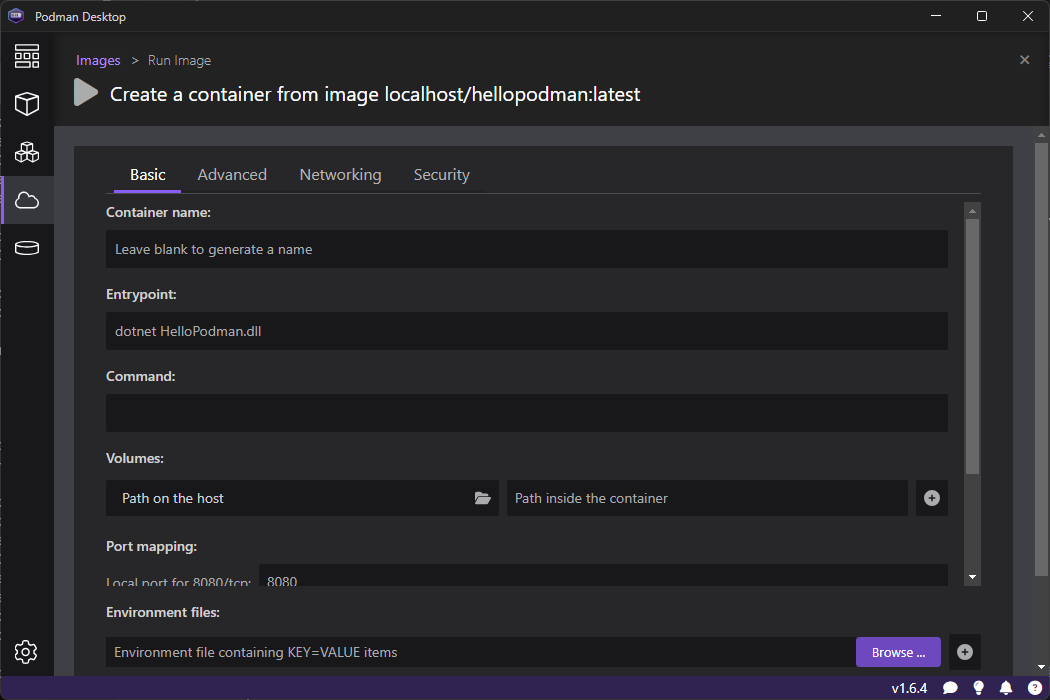
Create the container and then you can launch it!
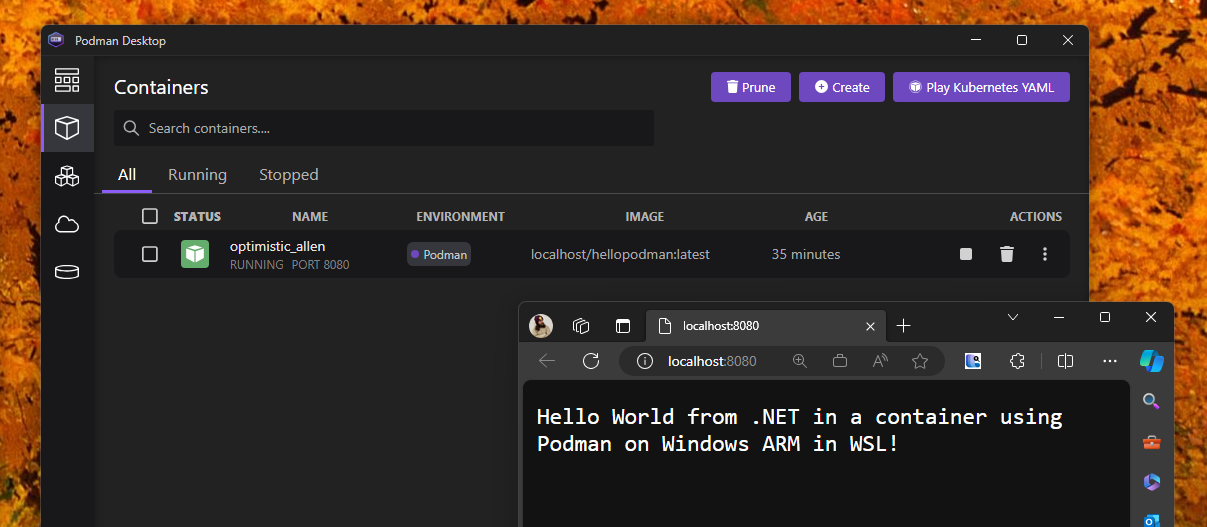
There you have it! Your Windows ARM machine is configured and ready to roll to develop containers and microservices with .NET!