
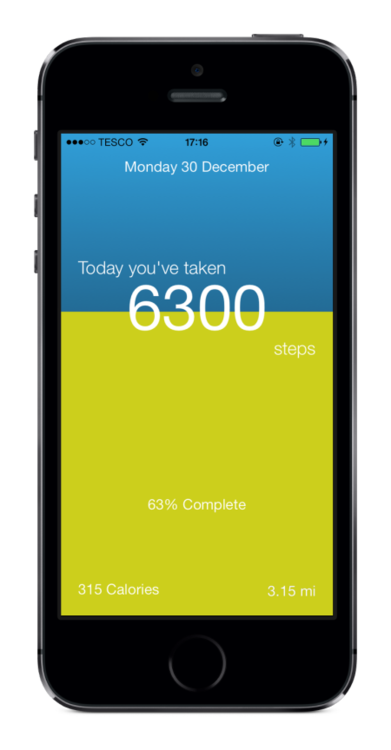
In February, my fellow Xamarin Michael James published a wonderful app for iOS called My StepCounter. This app uses the new CoreMotion apis in iOS 7 to track your steps on your iPhone 5s. This isn’t a new concept and there are plenty of devices and apps out there that do step tracking, but what makes My StepCounter special is that Michael gave it a beautiful simplistic UI & beautiful animations. On top of that he created it all to be 100% compatible with Xamarin Starter Edition! This is extremely impressive and demos the power of Starter Edition for anyone to start creating apps in C#.
Introduced with Android 4.4 was a new step sensor hardware support, which happens to be supported on my Moto X. So naturally as an Android development lover I wanted to test out these new APIs and create My StepCounter for Android. My goal is pretty simple:
- Track Daily Steps with new APIs
- Keep the same look, feel, and animations
- Maintain Starter Compatibility
- Maximize code re-use from iOS version
- Add support for browsing history
So with this in my mind and a Southwest plane ride back from Arizona without internet I started my journey on bring My StepCounter to Android.
Step Counter & Step Detector
Android 4.4 introduced 2 new sensors apis for step tracking:
TYPE_STEP_DETECTOR
This sensor triggers an event each time the user takes a step. Upon each user step, this sensor delivers an event with a value of 1.0 and a timestamp indicating when the step occurred.
TYPE_STEP_COUNTER
This sensor also triggers an event upon each detected step, but instead delivers the total accumulated number of steps since this sensor was first registered by an app.
These 2 types seem extremely similar, but the documentation says something very important:
"Be aware that these two step sensors don’t always deliver the same results. The TYPE_STEP_COUNTER events occur with a higher latency than those from TYPE_STEP_DETECTOR, but that’s because the TYPE_STEP_COUNTER algorithm does more processing to eliminate false positives. So the TYPE_STEP_COUNTER may be slower to deliver events, but its results should be more accurate."
So I wanted to test them out for accuracy. For testing I put my main logic in an Activity, although I know I would probably want to put this in a background service at some point. To be able to get notification sensors I had to implement ISensorEventListener, which has 2 methods in it:
OnAccuracyChanged: called when the accuracy changes.
OnSensorChanged: called when the sensor gets an update.
Before I could start testing out these sensors I wanted to make sure that my app could use them and have a way of detecting if the device my app was running on was compatible. So I had to add a little xml to the AndroidManifest.xml and also created a little helper method:
Now to take advantage of these sensors. I didn’t have to do anything for the accuracy changed since I was not interested in that, but for Sensor changed I had to either increase my step count for the step detector or calculate the total for the step counter so I could test accuracy:
With this code in place the only thing left to do was to register for the sensors. This involves grabbing the SensorManager and attempting to get the default sensor for the specific type and then registering the listener. It has multiple delay types, but normal seems to be the way to go:
Now that my sensors are all setup the last thing to do is put in a little UI to do some testing:
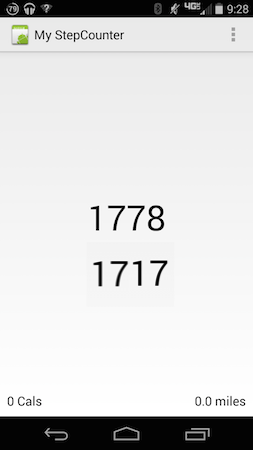
There you have it my very first step counter!…. Alright well it isn’t nearly done at all, but this was just Part 1! Here is what I have mapped out currently on my timeline:
- Part 2: Step Counting in a Bound Service
- Part 3: Pretty UI
- Part 4: Pretty Animations
- Part 5: Saving Info to ADO.NET Database
- Part 6: Shipping this app!