
Over the last few years I have fallen in love with Azure DevOps (VSTS) for handling all of my application and backend continuous integration, deployment, and release management. Each of these services offer a task based build and release definition that enable you to easily start automating anything. There are a ton of built in tasks, and a whole marketplace where you can install them into your Azure DevOps (VSTS) project. At some point though, you may need to do something custom that isn't a task that has been built. Don't worry, because there is a task called Command Line, which enables you to run any script that you could possibly want. While this is super powerful it also means that these scripts aren't re-usable between applications without copy and pasting them around and don't offer up a friendly user interface since it it just script.This is why Azure DevOps (VSTS) allows anyone to create re-usable tasks that can be shared privately or publicly with the world in the marketplace.

Shared Tasks with TypeScript
Wait, why is James talking about TypeScript? We all know that everything JavaScript annoys him and he loves C# with all of his heart and soul. While you can run any custom command in Azure DevOps (VSTS) if you want to write a shareable task that runs on any platform (such as macOS or Linux), then it must be written in JavaScript or TypeScript that is compiled down to JavaScript.
Don't run away, it really isn't that bad I promise!!! I tried everything to write tasks in any other language including bash and PowerShell Core, but nope you really need TS/JS for now. Luckily, once you get everything setup inside of VS Code, it is a nice experience. So, let's do it!!!
Development Setup
To get started you will need a Azure DevOps (VSTS) account, VS Code, the latest version of node, the Azure DevOps (VSTS) CLI, and a scaffolded out structure for your code. The Microsoft Documentation on Adding a Task has this entire structure laid out perfectly, so go do that right now! Then come back and we will pick up from this point.
Multi-Task Structure
The documentation above sets you up to build a single task, which is okay, but a unique ability is to create a bunch of tasks into a shareable task extension. So, before we start crushing some code and npm packages, let's structure our code a bit.
Update vss-extension.json
The vss-extension.json lists out all of the tasks that you want bundled into the extension that is compiled. There are two sections, files and contributions, which need to be updated with the multiple tasks and paths that we are creating. You can see what my vss-extension.json looks like with multiple tasks on my GitHub.
Development == Start
Now it is finally time to start development yay! Before we do, we need to insure that we have the TypeScript compiler installed. It is as easy as running:
npm install -g typescript
There is great documentation over on the VS Code site.
Inside of each tak folder we need to create a tsconfig.json file that tells TypeScript what the compiler options should be.
Here is what mine looks like:
{
    "compilerOptions": {
        "module": "commonjs",
        "target": "es6",
        "noImplicitAny": false,
        "outDir": "built",
        "rootDir": ".",
        "sourceMap": true,
        "moduleResolution": "node"
    },
    "exclude": [
        "node_modules"
    ]
}
Again, there is great documentation over on the VS Code website that goes over all of this.
We will create one more file called package.json which will have information about our task and what to point to when finished and what dependencies exist:
{
  "name": "hello world",
  "version": "1.0.0",
  "description": "",
  "main": "index.js",
  "scripts": {
    "test": "echo \"Error: no test specified\" && exit 1"
  },
  "author": "",
  "license": "MIT",
  "dependencies": {
    "util": "^0.11.1",
    "azure-pipelines-task-lib": "^2.7.7"
  },
  "devDependencies": {
    "@types/node": "^8.5.1",
    "@types/q": "^1.0.6"
  }
}
Now we can create our actual TypeScript file that will be run by Azure DevOps (VSTS). Here is what the base looks like:
//Grab the Azure DevOps (VSTS) task library helpers
import tl = require('azure-pipelines-task-lib/task');
import trm = require('azure-pipelines-task-lib/toolrunner');
import { isNullOrUndefined } from 'util';

//This is the function that get run
async function run() {
    try {
        let tool: trm.ToolRunner;

        // Grab any variables the user set
        let message: string = tl.getInput("key_from_task");

        if(isNullOrUndefined(message))
        {
            message = "No message defined";
        }


        console.log(message);
    }
    catch (err) {
        tl.setResult(tl.TaskResult.Failed, err.message);
    }
}

run();
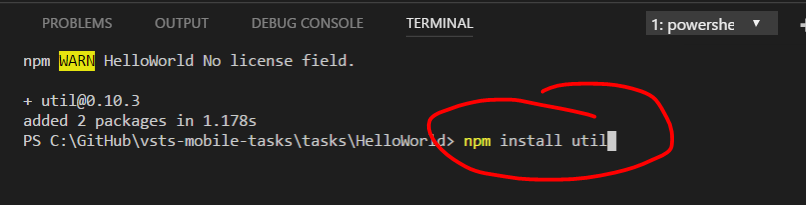
Before we try to build and run this task, we must restore our packages. Down in the terminal window of VS Code we can navigate to our Task folder and run npm commands to install the packages we need.
npm install @types/node --save-dev
npm install @types/q --save-dev
npm install azure-pipelines-task-lib --save
npm install util
echo node_modules > .gitignore
Build and Debug!
Now, it is time to compile our TypeScript down into JavaScript and actually debug it.
VS Code has some nifty commands built in for TypeScript. The command palette can be brought up with Ctrl + Shift + P or under View:
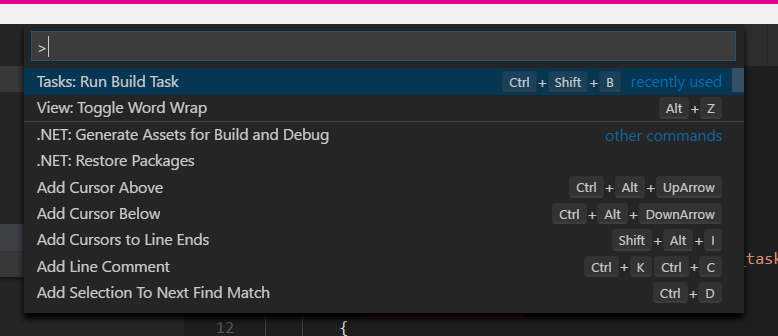
Then we can find Tasks: Run Build which will list all of the TypeScript files that can be compiled:
This can be brought up also with a keyboard shortcut of Ctrl + Shift + B.
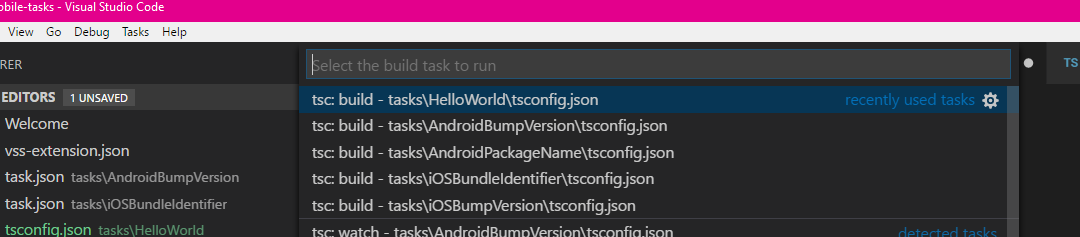
We can select the tsconfig that we want to build and hopefully we get no errors.
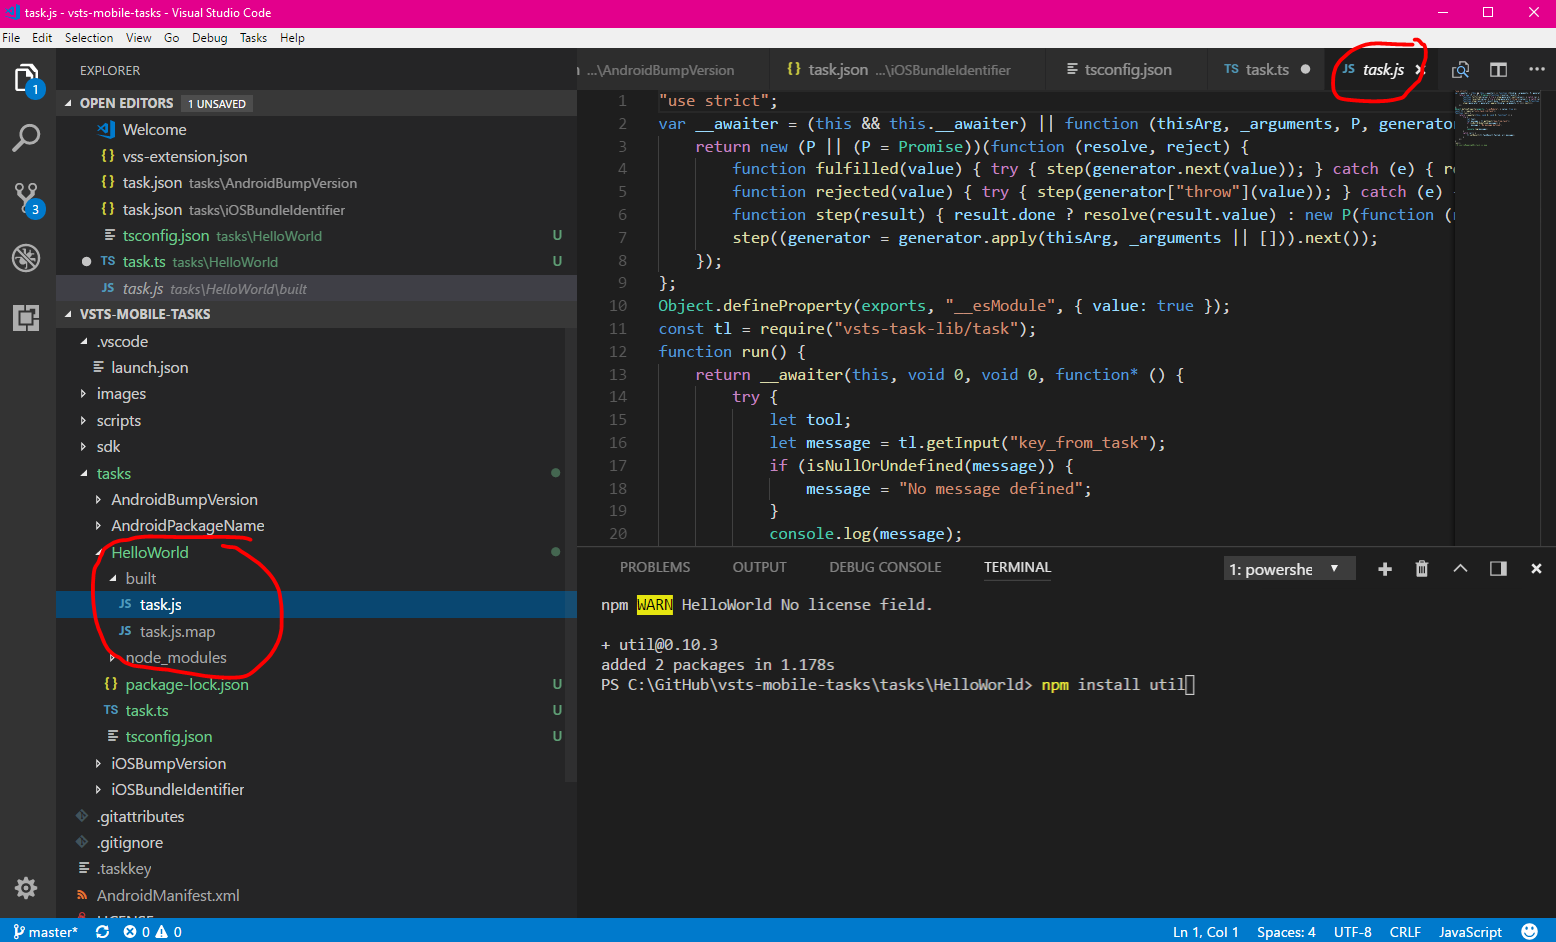
This compilation will output some nice JavaScript that will be executed under the hood:
VS Code should have generated a launch.json file at the root of the solution. Here is what mine looks like:
{
    // Use IntelliSense to learn about possible attributes.
    // Hover to view descriptions of existing attributes.
    // For more information, visit: https://go.microsoft.com/fwlink/?linkid=830387
    "version": "0.2.0",
    "configurations": [
        {
            "type": "node",
            "request": "launch",
            "name": "Launch Program",
            "program": "${workspaceFolder}/tasks\\HelloWorld\\task.ts",
            "outFiles": [
                "${workspaceFolder}/**/*.js"
            ]
        }
    ]
}
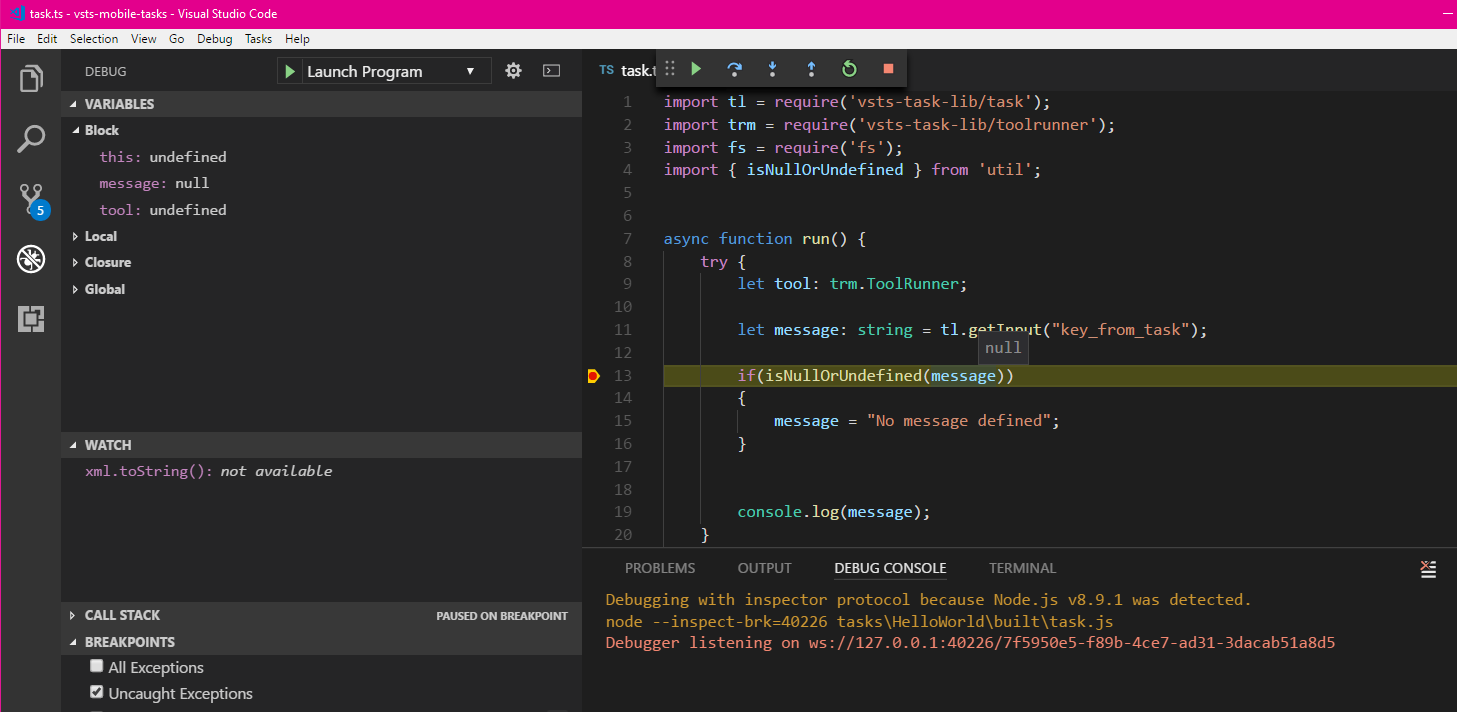
We can now set a breakpoint and start to debug our task.
The final thing to do is to package up our task and ship it to the marketplace for testing. This can be done with a simple command line at the root of the project to first install tfx-cli and then bundle the package:
npm i -g tfx-cli
tfx extension create --manifest-globs vss-extension.json
Learn More
There you have it from scratch to a fully built Azure DevOps (VSTS) tasks ready to be re-used in any project. Be sure to checkout my Azure DevOps (VSTS) tasks that are fully open source on GitHub and browse through the VSTS documentation for building tasks.