Let's be honest, every application needs to store data. Sometimes it is settings, configuration, HTTP requests, or a full database. What I was recently looking to accomplish was to make a web request, cache the request locally, and have it expire after a given amount of time. There are a lot of great solutions out there for storing data, but nothing seemed to fit exactly what I was looking for with a minimal amount of dependencies. So I figured I would tweet about it:
What library should I use for my Xamarin apps for caching web request data for like 24 hours? Minimal dependencies if possible no RX stuff!
— James Montemagno 🙈 (@JamesMontemagno) December 6, 2017
From the results (and controversy) there still wasn't anything that completely fit the bill. And of course my good friend Frank told me that he basically had an implementation of what I was looking for and to create a GitHub repo so we could collaborate. Just like that Monkey Cache was born! The easiest way to cache data in any .NET application.

What is Monkey Cache?
When we were building Monkey Cache we wanted to make a drop dead simple way to store any type of data with a minimal amount of dependencies. In addition to this, we also wanted to give developers an easy way to make web requests that would automatically use the ETag headers to smartly cache data only when needed.
Installing Monkey Cache
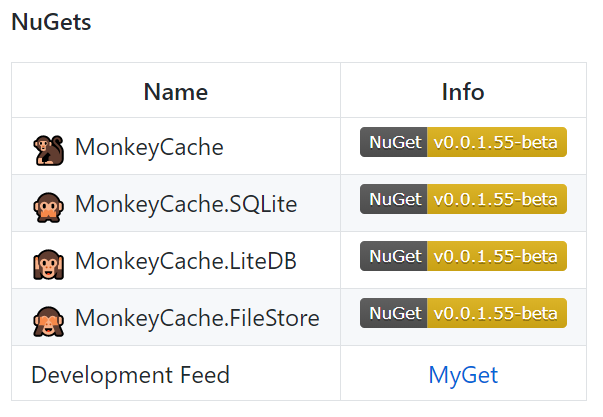
Monkey Cache consists of one core NuGet package with three backing store providers. That's right, you can pick the backend that best fits your needs and application. As of today we support SQLite-net, LiteDB (supports encryption), and a simple File Store (no additional dependencies). If you are already using one of these databases in your application then it is a clear choice to pick that implementation, else the choice is yours!
When you pick a backend it will automatically pull in the Monkey Cache core library which contains the core data models and all of the HTTP helpers. Monkey Cache is built against .NET Standard 2.0, which means it can be installed essentially in any .NET application, not just mobile!
Storing Objects in Barrels
Once Monkey Cache is installed in your project, it is time to start storing objects. Everything is stored in a "Barrel" or IBarrel. There is only one thing to do before we can store items, which is setup our application Id on the barrel:
Barrel.ApplicationId = "your_unique_name_here";
There is 1 barrel that items get stored in and Monkey Cache provides a singleton method that returns an IBarrel:
var currentBarrel = Barrel.Current;
What is an IBarrel?
Great question! This is where items get cached, updated, deleted, and checked for expiration:
    public interface IBarrel
    {
        void Add(string key, string data, TimeSpan expireIn, string eTag = null);
        void Add(string key, T data, TimeSpan expireIn, string eTag = null);
        void Empty(params string[] key);
        void EmptyAll();
        void EmptyExpired();
        bool Exists(string key);
        string Get(string key);
        T Get(string key);
        string GetETag(string key);
        bool IsExpired(string key);
    }
The Add method (which also updates the item) takes in a unique key, some data, a time span, and an optional eTag for metadata (nifty for web requests). Notice that there is a generic version of the method. This is so we can automatically serialize the object with Json.NET. I like to store the string manually for the web request itself, but the option is yours. On top of the normal Add and Get there are options to empty specific items, expired items, or the entire barrel. We have also added on some nifty helpers to check if the key is expired.
Caching a Web Request
Monkey Cache offers a nice drop in solution for caching data, which means there is no need to re-structure your entire app. Here is what an updated generic Get would look like for caching a web request:
There you have it! So simple! Now all of our web requests will be cached for any amount of time that we want and can optionally force a refresh if we need to!
You can learn more over on the Monkey Cache GitHub page, and also be sure to listen to our Merge Conflict episode on the how and why of Monkey Cache:


