
A somewhat common scenario for mobile apps is to place an icon in the center of the Navigation Toolbar. While I am not sure if this is really best practice in 2018 there still seems to be a lot of demand to do this. What if I was to tell you that this is actually pretty easy to do and for iOS it is built directly into Xamarin.Forms with no need for a custom renderer?
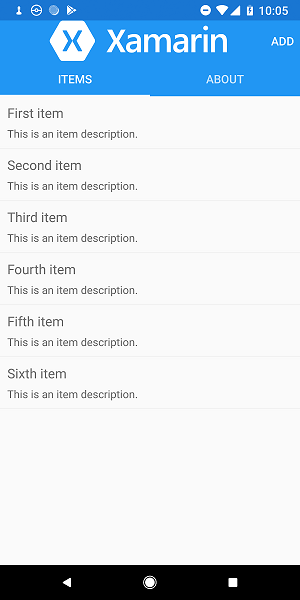
Let's take the default "Master/Detail" template for Xamarin.Forms in Visual Studio. It has a few tabs and an about page that has the Xamarin logo in it. Let's say we want to put that logo into the Toolbar for some reason, let's do it!
Xamarin.Forms 3.2.0 Updates!
The release of Xamarin.Forms 3.2.0 brought some amazing new updates for the Navigation Toolbar including the new TitleView that allows you to set any custom content you would like! Here is the new fancy way of doing it:
<ContentPage>
    <NavigationPage.TitleView>
        <StackLayout Orientation="Horizontal" VerticalOptions="Center" Spacing="10">
            <Image Source="iconXamagon.png">
                <Image.GestureRecognizers>
                    <Image.TapGestureRecognizer
                        Tapped="HandleTapped" />
                </Image.GestureRecognizers>
            </Image>
            <Label Text="3.2.0" FontSize="16" TextColor="Black" VerticalTextAlignment="Center" />
        </StackLayout>
    </NavigationPage.TitleView>
    ...
</ContentPage>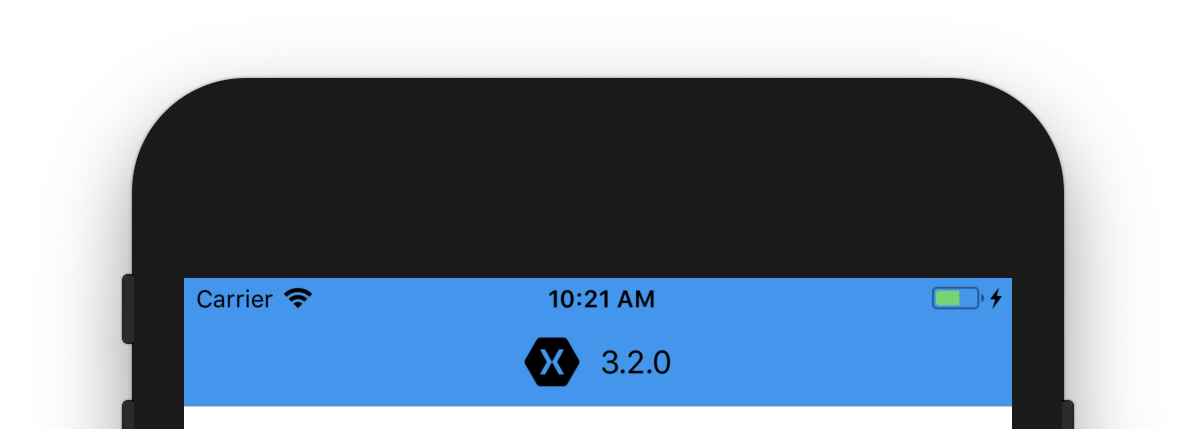
On an older version of Xamarin.Forms? Here is the original post:
iOS Toolbar Icon
This is the easiest as it is built directly in to the API and applied on a Page by Page basis. That is right you can easily adjust the icon that is displayed by setting the TitleIcon static property on NavigationPage.
So if we want our icon to appear on the first tab, we can set the property:
<views:ItemsPage NavigationPage.TitleIcon="xamarin_logo.png"/>This of course needs to be inside of a Navigation page, so here is the full XAML:
<TabbedPage xmlns="http://xamarin.com/schemas/2014/forms"
            xmlns:x="http://schemas.microsoft.com/winfx/2009/xaml"
            xmlns:views="clr-namespace:NavigationIcons.Views"
            x:Class="NavigationIcons.Views.MainPage">
    <TabbedPage.Children>
        <NavigationPage Title="Items">
            <NavigationPage.Icon>
                <OnPlatform x:TypeArguments="FileImageSource">
                    <On Platform="iOS" Value="tab_feed.png"/>
                </OnPlatform>
            </NavigationPage.Icon>
            <x:Arguments>
                <!-- Set Title Icon Here-->
                <views:ItemsPage NavigationPage.TitleIcon="xamarin_logo.png"/>
            </x:Arguments>
        </NavigationPage>

        <!-- About Page-->
    </TabbedPage.Children>
</TabbedPage>
Just like that we have a beautiful (although not properly sized) logo in our navigation toolbar:
You can also set it in the code behind for the specific page inside of the constructor if you don't want to clutter up your XAML.
NavigationPage.SetTitleIcon(this, "xamarin_logo.png");This will yield the same result. Ensure that this icon is inside of your iOS project's Resources and is marked as a BundleResource. You should also follow Apple's guidelines for the size of this icon.
Android Toolbar Icon
Unfortunately the TitleIcon property only works for iOS :(, but we do have the ability to set the icon in our toolbar on a global level for the application. Inside of the Android projects Resources/layout folder lives Toolbar.axml and this is what you set in the MainActivity, which Xamarin.Forms will use to inflate it. Double click to open up the Toolbar.axml and head over to the Source view. The toolbar can actually have anything inside of it, which is pretty nice. We could add a LinearLayout and stack multiple items or we can add an ImageView directly:
<android.support.v7.widget.Toolbar
    xmlns:android="http://schemas.android.com/apk/res/android"
    android:id="@+id/toolbar"
    android:layout_width="match_parent"
    android:layout_height="wrap_content"
    android:background="?attr/colorPrimary"
    android:theme="@style/ThemeOverlay.AppCompat.Dark.ActionBar"
    android:popupTheme="@style/ThemeOverlay.AppCompat.Light">
	<ImageView
        android:layout_width="wrap_content"
        android:layout_height="fill_parent"
        android:scaleType="fitCenter"
        android:src="@drawable/xamarin_logo"
        android:layout_gravity="center" />
</android.support.v7.widget.Toolbar>
This will result in any NavigationPage in your app to have a fancy icon on it. You can even add padding to adjust it.
Hopefully Xamarin.Forms adds an ability to just create a Toolbar for any page that we are on, so we can have this on a page by page basis on Android. The other option here would be to hide the actual Toolbar on Android and just create our own from scratch. This has some up sides as you have more control, but the toolbar won't react to dpi and rotation changes unless you implement more code to do so.
Learn More
The SetTitleIcon property is actually documented over on docs.microsoft.com.